I finished the hole on the mahogany body by hand, gluing a piece of sandpaper onto a round wooden stick and filing it carefully from inside. The friction is enormous because the guitar peg is this long. I finished this guitar capo myself, of course, and it is holding – fantastic. It’s the quickest, but also the lazy man’s way because the superglue is brittle when dried and it breaks easily, so better try to find some glue suited more for the leather. I used superglue to glue the leather cylinder for the protection of the guitar neck, but also for the piece that holds the strings. You can use the second or the third guitar string, just the same. It will make a bulb, that will equally prevent the string from slipping through the tiny hole you drilled 4 it. You can tie a nod, or you can use a lighter, and melt the plastic. When making a small hole for tightening the string, take in consideration the space needed for the nod, and create a small pocket for it in the capo’s bottom side. You can also use the “sulphonium”, or resin that violinists use for the bow strings, to increase the friction between the body and the peg. The cone shape of the peg hole and the conical peg axis on the guitar capo are a world on its own, just try to obtain as much friction as you can between them. But you can use any wood, just as long as it’s dense, (the one on the right is from beech wood, not very good, though). This piece of ebony I used to carve the capo’s body (on the left), was not of the best quality, that’s why it’s not completely black, but dark brown. On hand made guitars, the fretboard is always made from it. When it’s really of the best quality, it behaves almost like some sort of ceramic, when carved.


Ebony tree impregnates naturally after it’s life, it’s first white, and then the trunk keeps sucking water from the soil, and the trunk center turns black, gaining incredible strength. Traditionally, both the wood block and the peg would have been made of ebony wood, since it’s among the highest density wood known. This way on the guitar capo – the peg never stands in the way, whatever you play. But then the peg is in the way when playing certain chords. The traditional design is rounded on top, reminding on an eyebrow, with the peg hole in the center of the top of the wood block. This design, with the peg on the side, is quite new. Be aware that the peg’s axis has to be perfectly cylindrical and conical, and it’s quite difficult to make by hand, without a lathe. The easiest way to make a flamenco “cejilla” is to find some old violin or a cello peg and start from there. On the leather, through time, the strings make indentations, and these “channels” then hold the strings firmly, so they can’t move up or down.

I know that today is next to impossible to get a guitar head ebony wooden peg, but the pegs for the violin, viola, and cello – are very much alike and are available in music stores around the world for like 5 $. This is my new guitar capo or “cejilla” being made from a very nice piece of mahogany wood, and the peg is an original flamenco guitar head peg from Ramirez The 3rd, made from ebony. With cejilla on, they all have different pitches. All the harmonics of the entire instrument also change, because of the open strings. La Cejilla also changes the overall height of the strings, so playing in the first position is much easier for the left hand, too. If this piece is made of rubber, it might not hold the strings properly, and they might move when playing left-hand legato. The traditional flamenco capo is called “La Cejilla”,, meaning “the small eyebrow”, and it’s made of wood, but what’s most important is the piece of leather glued underneath, that holds the strings.

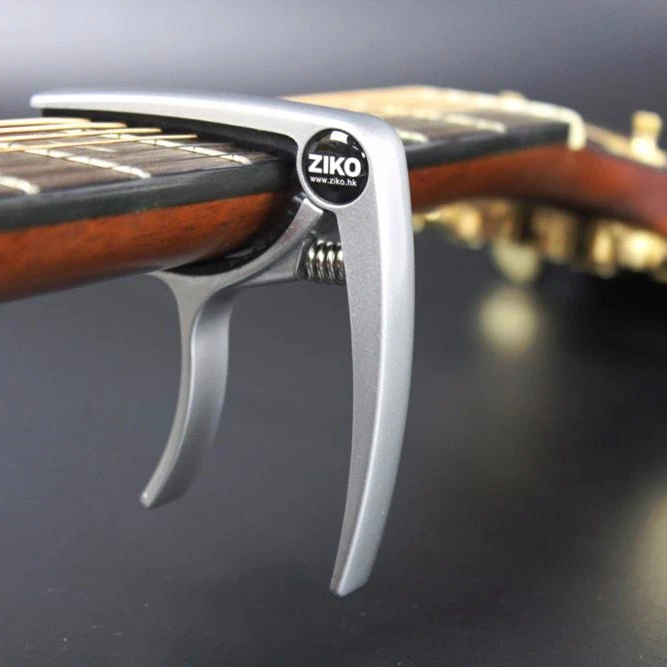
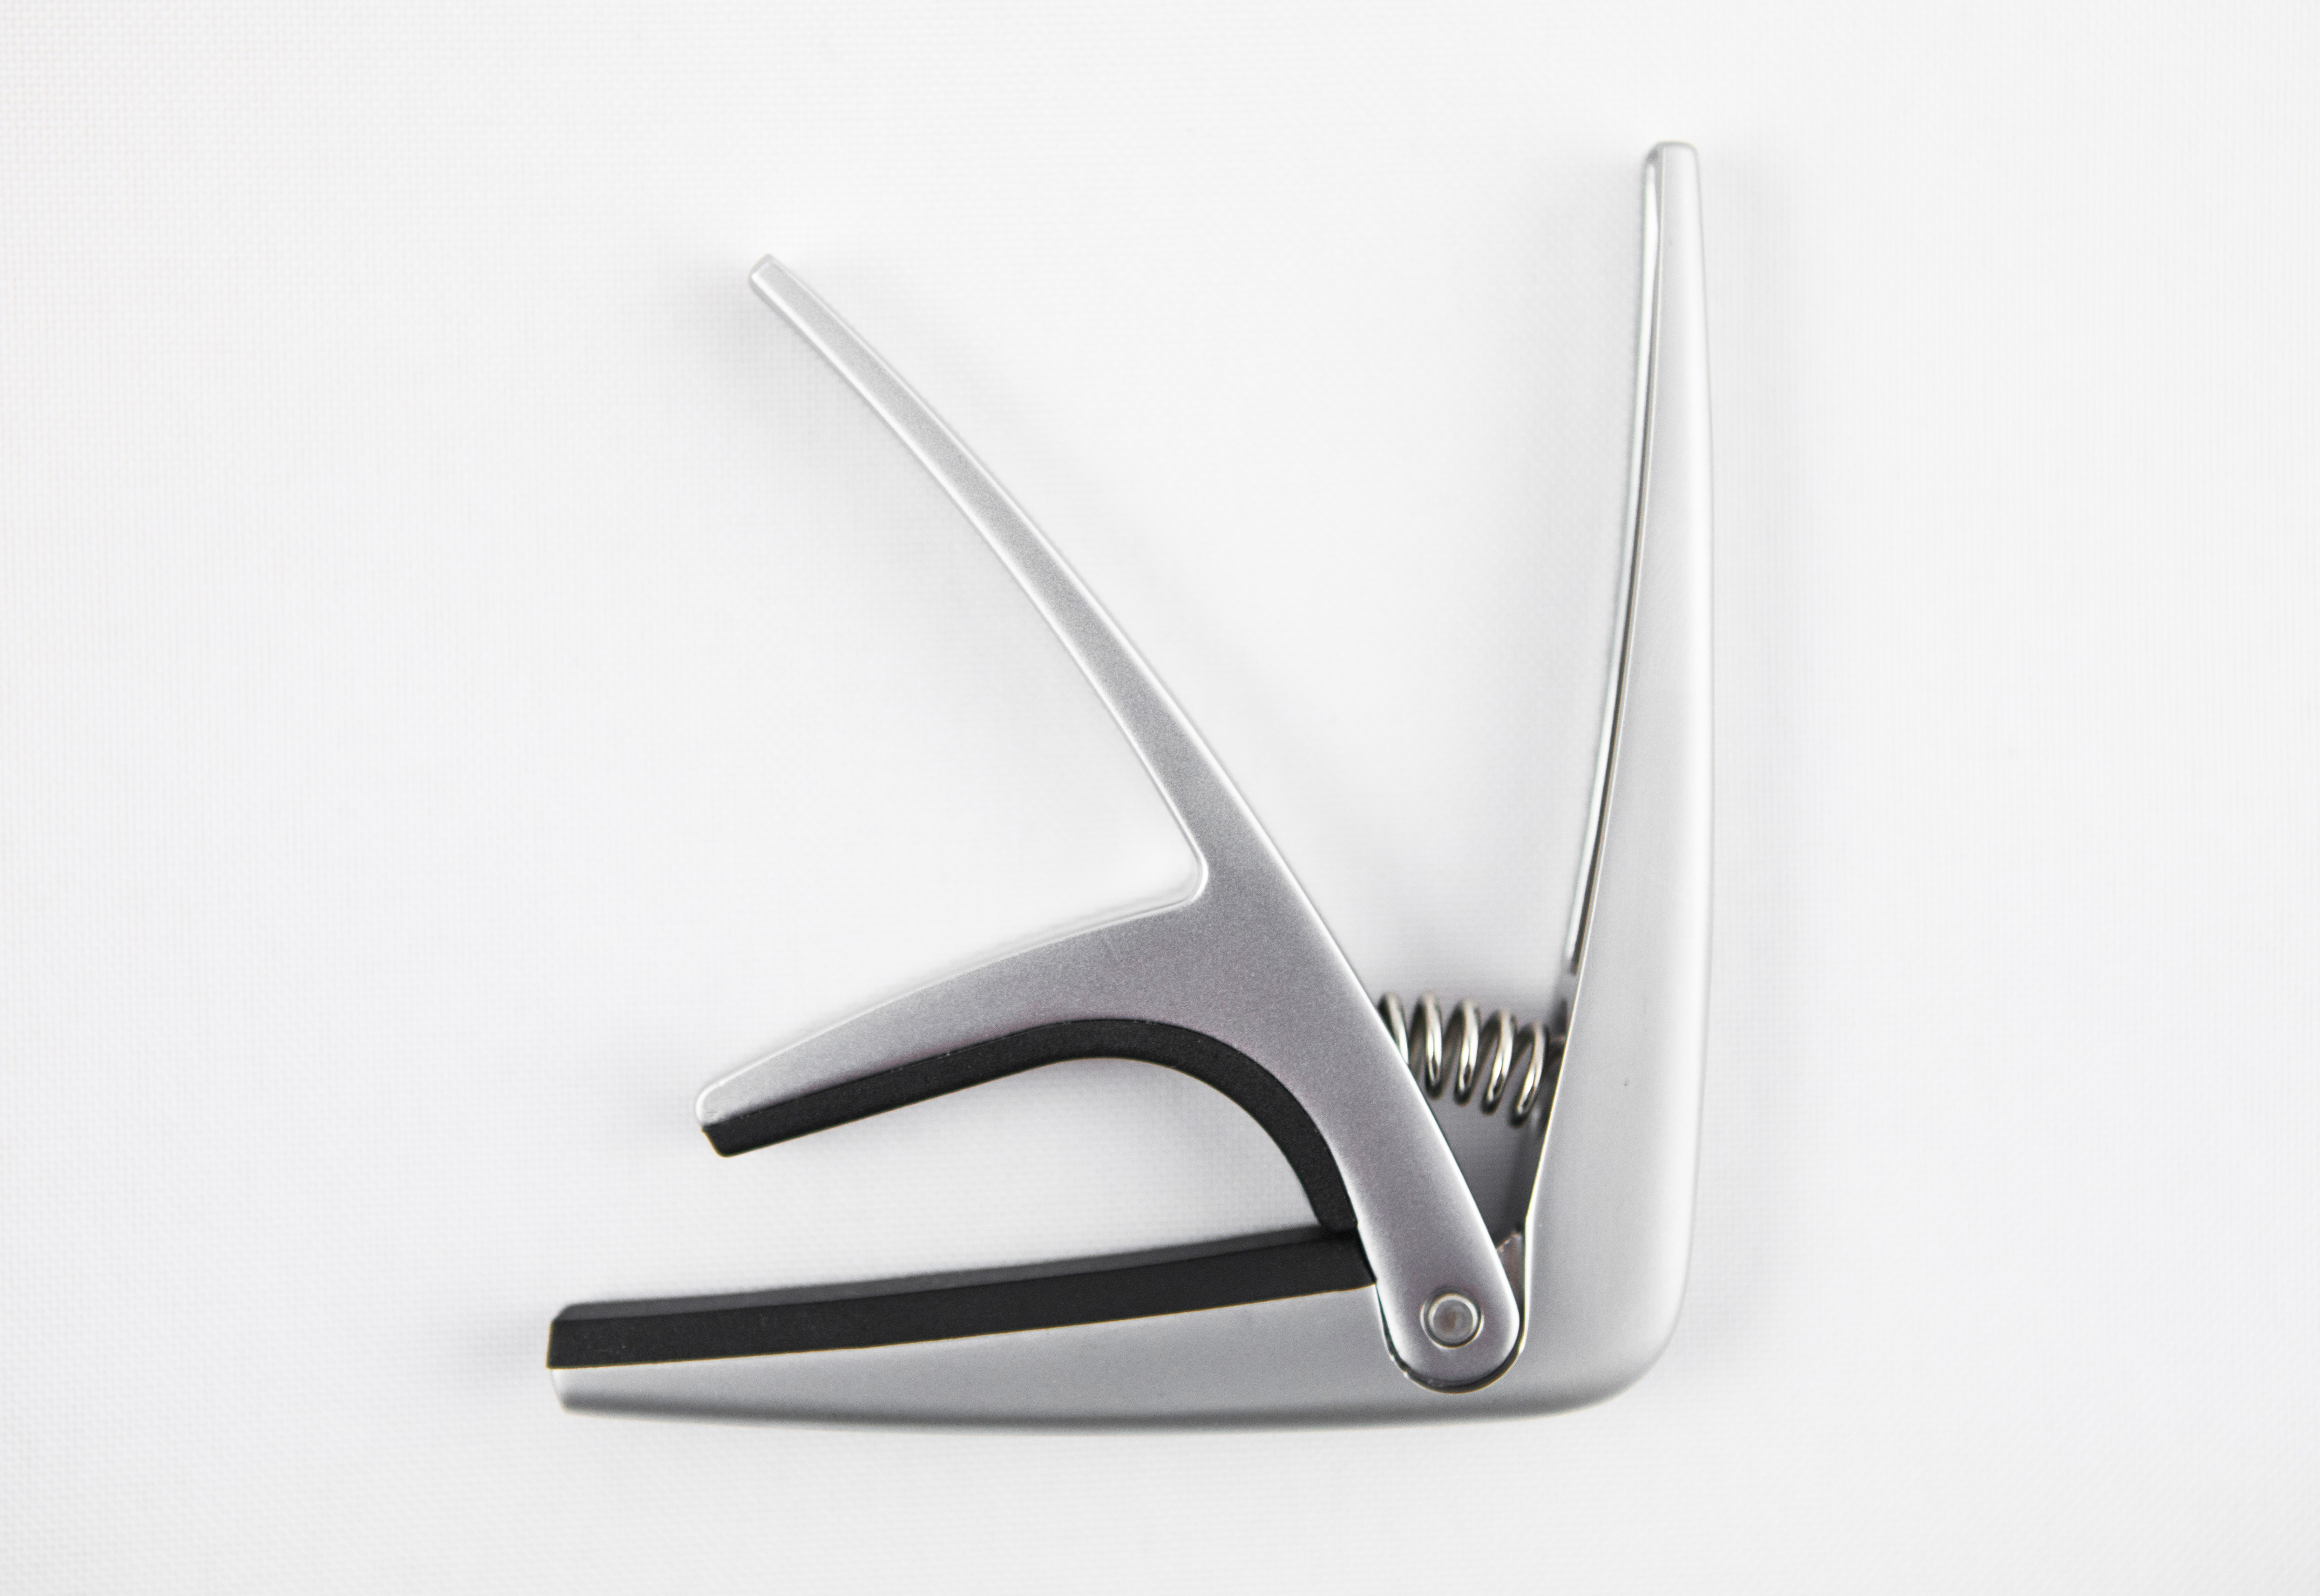
There are many varieties of capos today, but they are not all good. Guitar Capo is the easiest way to change the tonality when accompanying singers.


 0 kommentar(er)
